How to Make the Perfect No Bake Cherry Cheesecake
There’s nothing quite like a no-bake dessert—especially when it’s creamy, sweet, and easy to make. This No Bake Cherry Cheesecake is the perfect solution for when you need a delicious treat without turning on the oven. Whether you’re short on time, avoiding heat in the kitchen, or simply craving something quick and satisfying, this recipe delivers.
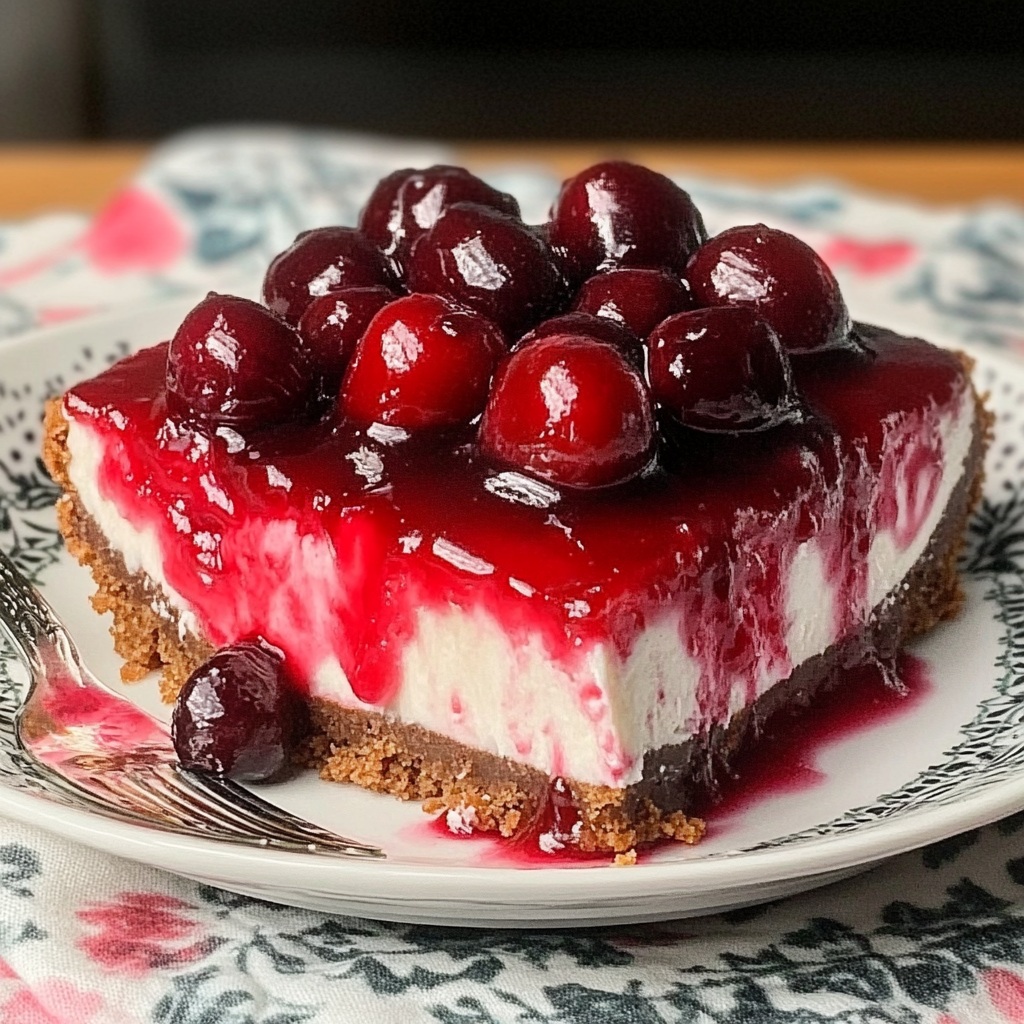
What makes it stand out? It’s rich with cream cheese, topped with tangy cherry pie filling, and nestled on a buttery graham cracker crust. It requires just a few simple ingredients and minimal equipment, making it ideal for both beginners and seasoned home bakers.
From casual weeknight desserts to holiday dinners, this cheesecake fits every occasion. Chill it overnight and serve the next day for maximum flavor and texture. You’ll love how impressive it looks—and how easy it is to make.
Why You’ll Love This No Bake Cherry Cheesecake
This cheesecake is a no-fail dessert that brings big rewards with little effort. Here’s why it’s so lovable:
- No oven required: Perfect for warm days or small kitchens.
- Quick and simple: Minimal prep with zero baking stress.
- Always a hit: Creamy filling, sweet cherries, and a crunchy crust please every palate.
- Make ahead: Ideal for prepping the night before guests arrive.
- Customizable: Swap cherry topping for any fruit or even a drizzle of chocolate.
Whether it’s your first time making cheesecake or your hundredth, this recipe is reliable, fun, and completely irresistible.
What You’ll Need
To make this No Bake Cherry Cheesecake, you only need a handful of simple, pantry-friendly ingredients. Each one plays a key role in creating that creamy, sweet, and perfectly balanced dessert. Here’s what you’ll want to gather before getting started:
For the Crust:
- 1 ½ cups graham cracker crumbs – Classic, buttery flavor that forms the perfect base.
- ⅓ cup granulated sugar – Adds just the right sweetness.
- ½ cup unsalted butter (melted) – Helps bind the crust and gives it rich flavor.
For the Cheesecake Filling:
- 2 (8 oz) blocks cream cheese, softened – Full-fat cream cheese gives the best texture and taste.
- 1 cup powdered sugar – Blends smoothly for a creamy finish.
- 1 teaspoon pure vanilla extract – Adds warmth and depth of flavor.
- 1 (8 oz) tub whipped topping (like Cool Whip) – Keeps the filling light and fluffy.
For the Topping:
- 1 (21 oz) can cherry pie filling – Sweet, glossy, and classic for this dessert.
That’s it—simple, accessible ingredients you can find in any grocery store. If you’re looking to switch things up later, you can explore different fruit toppings like blueberry, strawberry, or peach. But for this recipe, we’re keeping it timeless with cherries.
How to Make No Bake Cherry Cheesecake
Now that you’ve got your ingredients ready, let’s break down how to bring this no-bake masterpiece together. The steps are straightforward and beginner-friendly—no oven, no water bath, no fuss.
Step 1: Make the Crust
In a mixing bowl, combine the graham cracker crumbs, granulated sugar, and melted butter. Stir until the texture resembles wet sand. Press the mixture firmly into the bottom of a 9-inch pie dish or springform pan. Use the bottom of a glass or measuring cup to flatten it evenly. Chill in the fridge for 15–20 minutes while preparing the filling.
Step 2: Prepare the Cheesecake Filling
In a large bowl, beat the softened cream cheese and powdered sugar with a hand mixer until smooth and creamy—about 2–3 minutes. Add vanilla extract and mix again. Gently fold in the whipped topping until the mixture is fully combined and fluffy.
Step 3: Assemble the Cheesecake
Spread the cheesecake filling evenly over the chilled crust, smoothing out the top with a spatula. Once level, spoon the cherry pie filling over the top, spreading it to cover the surface.
Step 4: Chill to Set
Cover the cheesecake and refrigerate for at least 4 hours, or overnight for best results. The longer it chills, the firmer and more flavorful it becomes.
Once chilled, slice, serve, and enjoy your delicious no-bake cherry cheesecake!
You Must Know
Before making your No Bake Cherry Cheesecake, here are a few key tips:
- Room temperature cream cheese is a must. Cold cream cheese makes a lumpy filling.
- Chill it long enough—at least 4 hours, or overnight for best results.
- Use full-fat cream cheese for better flavor and structure.
- Springform pans make cleaner slices and a prettier presentation.
- Cool Whip or similar whipped topping holds its shape better than homemade whipped cream.
- Chill the crust before adding the filling to prevent it from breaking apart.
These small steps make a big difference and guarantee a smooth, delicious cheesecake every time.
Perfecting the Cooking Process
Even without baking, technique matters! Here’s how to get the best result:
- Crust: Mix well, press firmly, and chill it before adding filling.
- Filling: Beat the cream cheese and powdered sugar until smooth. Gently fold in whipped topping so it stays fluffy.
- Layering: Spread the filling carefully to avoid disturbing the crust. Spoon cherries on top and spread gently.
- Chilling: Let it set in the fridge at least 4 hours. Overnight is ideal.
- Slicing: Use a warm, clean knife for neat, bakery-style slices.
Follow these steps, and you’ll end up with a creamy, picture-perfect dessert.
Take a bite of something unique
Add Your Touch
Want to personalize your cheesecake? Here are a few simple ways to make it your own:
- Try different toppings: Swap the cherry pie filling for blueberry, strawberry, raspberry, or even a mixed fruit compote.
- Add a flavor twist: Mix a little lemon zest or almond extract into the filling for a fresh or nutty note.
- Change the crust: Use crushed vanilla wafers, chocolate cookies, or gingersnaps instead of graham crackers for a new base flavor.
- Decorate creatively: Add whipped cream swirls around the edge or sprinkle on mini chocolate chips, crushed nuts, or toasted coconut for extra flair.
- Make mini versions: Use a muffin tin with cupcake liners to create personal-sized cheesecakes—perfect for parties or portion control.
This recipe is a great base for creativity, and you can adjust it easily to suit your preferences or the occasion.
Storing & Reheating
While this dessert doesn’t require reheating, proper storage is key to keeping it fresh and delicious:
- Refrigerator: Store the cheesecake in the fridge, covered with plastic wrap or in an airtight container. It stays fresh for up to 5 days.
- Freezing: Want to prep ahead? Wrap it tightly in plastic and foil, then freeze. It keeps well for up to 1 month. Thaw in the fridge overnight before serving.
- Leftover slices: Keep individual slices in airtight containers for quick, ready-to-serve treats during the week.
Explore more delicious ideas here
No baking, no fuss—and now no waste. Proper storage ensures every bite stays as good as the first.
Chef’s Helpful Tips
Here are some expert tips to make your cheesecake even better:
- Use quality cream cheese: A trusted brand makes a noticeable difference in taste and texture.
- Avoid overmixing: Blend until smooth, but stop once everything is combined to keep the filling light.
- Let it fully chill: Don’t rush the setting time. A well-chilled cheesecake slices better and holds its shape.
- Smooth top trick: Dip your spatula in warm water to smooth the top layer before adding cherry topping.
- Transporting? Keep it in a cooler bag or insulated container if you’re bringing it to a party.
These little touches help make your no-bake cheesecake look and taste like it came from a bakery.
FAQ
Can I make it ahead of time?
Yes! In fact, making it the night before gives it the best texture.
Can I use fresh cherries instead of canned?
Absolutely. Just cook them briefly with sugar and a bit of cornstarch to thicken before using.
Is whipped cream OK instead of whipped topping?
You can use homemade whipped cream, but it may not hold up as long. Stabilized whipped cream is a better choice if substituting.
Can I make it dairy-free?
Yes—use dairy-free cream cheese and a coconut-based whipped topping. Double-check that your pie filling is also dairy-free.
How long does it last?
Stored properly in the fridge, it lasts up to 5 days. In the freezer, it keeps for a month.
Conclusion
No Bake Cherry Cheesecake is one of those classic desserts that everyone loves—and for good reason. It’s sweet, creamy, and full of cherry goodness without needing to turn on the oven. With a buttery graham cracker crust, a smooth cream cheese filling, and a vibrant cherry topping, it’s simple yet impressive enough for any gathering.
Whether you’re a beginner in the kitchen or a seasoned home baker looking for a quick win, this recipe delivers. It’s easy to make, endlessly customizable, and perfect for holidays, potlucks, or just a cozy family treat. The fact that you can prepare it in advance makes it even better—no stress, just chill.
What makes this dessert so special is how effortlessly it combines convenience with flavor. It’s the kind of dish that brings people back for seconds and has guests asking for the recipe. And with all the tips, tricks, and variations you’ve learned, you can easily make it your signature dessert.
So next time you need something sweet but simple, reach for this no bake favorite. Keep it classic or make it your own—it’s bound to be a crowd-pleaser.
Happy no-baking!
How to Make the Perfect No Bake Cherry Cheesecake
Description
Indulge in this creamy, dreamy No Bake Cherry Cheesecake—packed with flavor and a buttery crust, topped with a sweet cherry filling. It’s an easy, no-fuss dessert perfect for any occasion.
Ingredients
1 ½ cups graham cracker crumbs
¼ cup sugar
½ cup melted butter
8 oz cream cheese, softened
1 cup powdered sugar
1 tsp vanilla extract
2 cups whipped topping
1 can cherry pie filling
Instructions
Prepare the Crust:
Mix graham cracker crumbs, sugar, and melted butter. Press the mixture into the bottom of a springform pan to form the crust. Chill in the fridge while you prepare the filling.
Make the Filling:
In a bowl, beat the softened cream cheese and powdered sugar until smooth. Add vanilla and fold in the whipped topping gently.
Assemble the Cheesecake:
Pour the cream cheese mixture into the chilled crust. Smooth the top, then spoon cherry pie filling over it. Chill the cheesecake for at least 4 hours, or overnight for best results.
Serve and Enjoy:
Slice and enjoy your creamy, fruity cheesecake!
Notes
- For a firmer texture, let the cheesecake chill overnight.
You can substitute fresh fruit or another fruit pie filling if you prefer.
To make mini cheesecakes, use muffin tins with cupcake liners for individual servings.